Optimising images for web in 4 easy steps

Having access to great graphics is essential for any business. They can capture your audience’s attention, increase click through rates and encourage readership. But did you know that if they are not optimised, those graphics can cause slow page loading times and affect your website's search engine ranking?
Learning how to optimise your images for their intended purpose can ensure that everyone gets to see the best version of your image without compromising your marketing efforts or frustrating visitors.
1. Sourcing photos and graphics
Whether you create them yourself, scour the internet for freebies or hit the stock image sites, it’s incredibly important to start off with a high quality image that is licensed for your usage purposes. So where do you find images online? Here’s some great places to start.
Create your own images
The best way to source original images that are free to use and uncopyrighted is by producing them yourself or hiring a designer or photographer to produce it for you. This could include creating your own photos, typography solution, infographic, illustration - whatever you can produce to accompany your story, article or copy. Applications like Canva have made it really easy to build your own graphics as well.
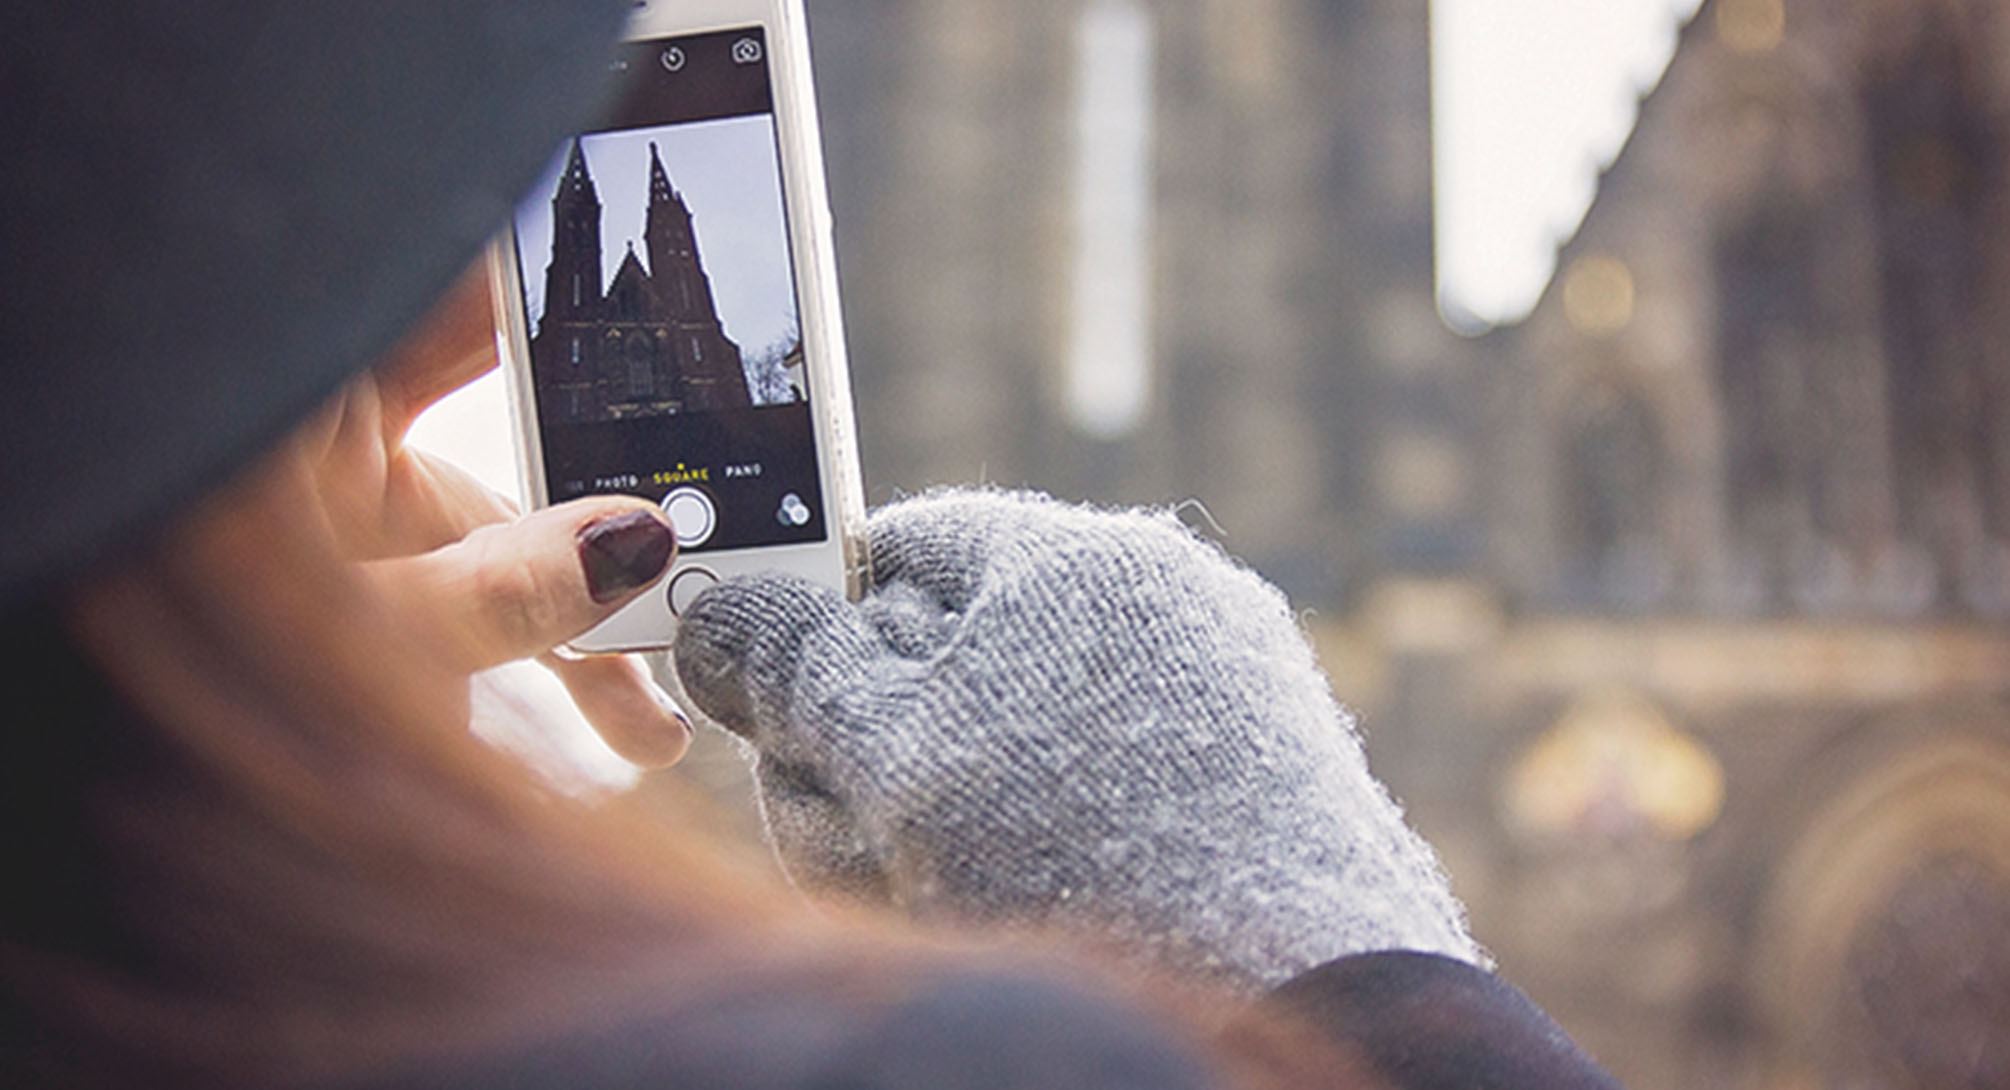
For most people, the easiest and most accessible option is photography. If you don’t own a camera, most smartphones now produce high resolution photos–just make sure you use the original file and optimise it (instructions below), as images uploaded to social media sites are often compressed.
Royalty free stock images
Not a great photographer? No problem! If you are looking for a high quality image, places like Stocksy, Shutterstock and iStock are useful places to look. They do charge a small fee for each image, but sites like these have an excellent collection, so if you’re looking for something really specific, like a sloth wearing a Santa hat or a businessman doing the splits with a traffic cone on his head- you’ll have the best chance of finding it here!
If you haven’t got $10 to spend on the sloth photo, don’t worry, there’s also quite a few excellent stock image sites that you can use for free. Here are some of the best free stock image sites that we’ve come across, just be sure to pay close attention to the way photos are licensed so that you can pay credit where it’s due. Anything labelled 'public domain' or with the CC0 licence are restriction free.
Request to re-use someone else's images
You should never use an image if you're unsure of who owns it and how it's licensed. By default, images are always copyright restricted unless stated otherwise, so if in doubt, don't! Using a copyrighted image is, in effect, stealing someone's work, so it could open you up to legal action and or fines. If you really like an image and would like to use it on your website, you can contact the creator to ask for permission. It could be a mutually beneficial arrangement if you can offer them accreditation and exposure to a new or unique audience. If they don't accept, respect their decision and find another image that works!
2. Re-sizing your image
Once you have your image ready to go, you'll probably need to resize it for web. Whether you're uploading to facebook or your own website, images destined for online use need to fit within a designated area or container. When we capture a photo, quite often the output file from the camera will be a large, high resolution file. This great for print purposes, but it's a lot larger than what is needed for most digital uses.

Large files can cause slow loading times on websites, which is annoying for users and can have a negative impact on search engine rankings. Even if your content management system re-sizes your image for you, every time the page loads, the server will have to spend time calculating a percentage of that image size, instead of just displaying it.
If your image is going up on a site like Facebook, Twitter or Pinterest, they automatically re-size and compress images to fit their proportions. This can have negative effects on image quality and colours, so it's best to do it yourself, that way you can control the output. If you want to ensure that your image looks great and doesn't slow down your website, it's best to re-size it to the correct size for the purpose that it's intended before you upload it. We can measure the size of the area the photo needs to be re-sized to in pixels (px).
You can measure the size of the area on your page by:
- Using tools like this ruler plugin for Google Chrome
- If there is an existing photo you are measuring, you could right click and save the image and then look for pixel dimensions in the image information
- On Mac computers, Command + Shift + 4 will bring up the selection box to take a screenshot. The numbers it shows are the pixel dimensions of the area you have selected.
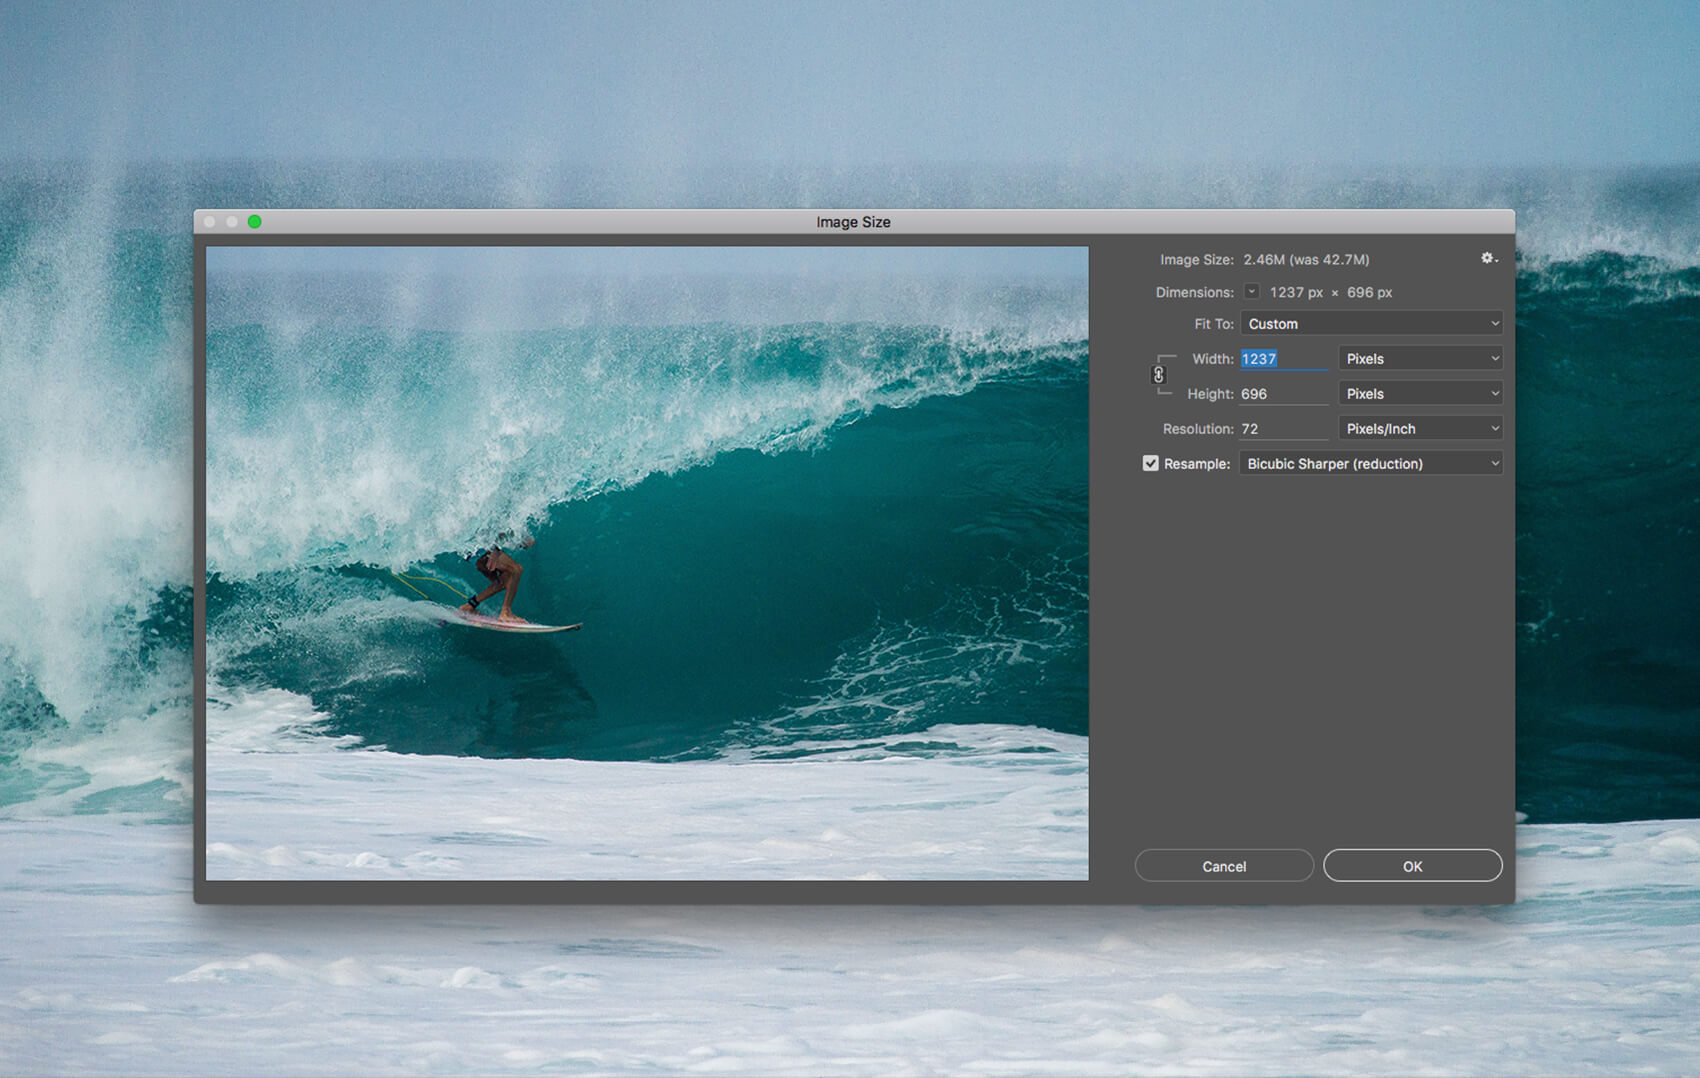
Once you have determined the correct dimensions you require and have a suitable photo, use Photoshop or an online tool like Canva, or this one to re-size your image. Here, you'll only need to focus on changing the pixel dimensions. Resolution is unimportant for web, it is only relevant for print.
Re-sizing images for retina screens
If you want to make sure that your image looks great on retina and non retina screens, you may wish to re-size your image so that it is double the pixel length and width (i.e. if you had a designated space of 100x100px image, you would size your image to 200x200px. The space that it fills will still be 100x100px, but it will look sharp on a retina screen, which has double the display resolution compared to a standard screen. Your image will still look great on non retina devices as well. The only downside is that, due to the larger file size your page will be slower to load. There are also modifications a developer can make to your javascript to detect a retina screen and display the correct image, but we won't go into detail here. If you're looking for more information on the subject of re-sizing images for retina screens check out this article.
3. Choosing the right file type
While JPEGS are the most common file types, they are not always the best file types for web use and in many instances, they can’t quite match what other file types can do. A general rule of thumb is that JPEGs should be used whenever you are saving a photo or image for web that contains lots of rich colours and gradients, whilst PNGs and GIFs are perfect for icons that may require a transparent background. If you have a vector image like a logo you can’t go past SVG and if you are looking at saving any sort of animated image, you’ll want to be using a GIF.
Make sure you check out this article about different file types and their uses to make sure you’re selecting the right one for the job!
4. Compressing your image
Even after you've re-sized your image to the correct dimensions, chances are your file size is still larger than it needs to be. In this final step, you can compress your JPEG or PNG files by slightly reducing the quality output (don't worry they'll still look great!), selectively decreasing the number of colours in the image and removing unnecessary metadata.
I recommend trying to keep files under 100KB for fast loading times (it's not always possible, but it's a good rule of thumb). You can definitely compress and reduce the quality of images in programs like Photoshop when you export them, but this never seems to deliver the really small file sizes for quick websites. The solution? I like to use sites like Tiny PNG and Tiny JPG. These sites are fast, free and they do a great job for me! There's a bunch of other similar programs out there as well and I'm sure they deliver equally great results, so do your research and find a program that you like using.
Compression artifacts in JPEGS
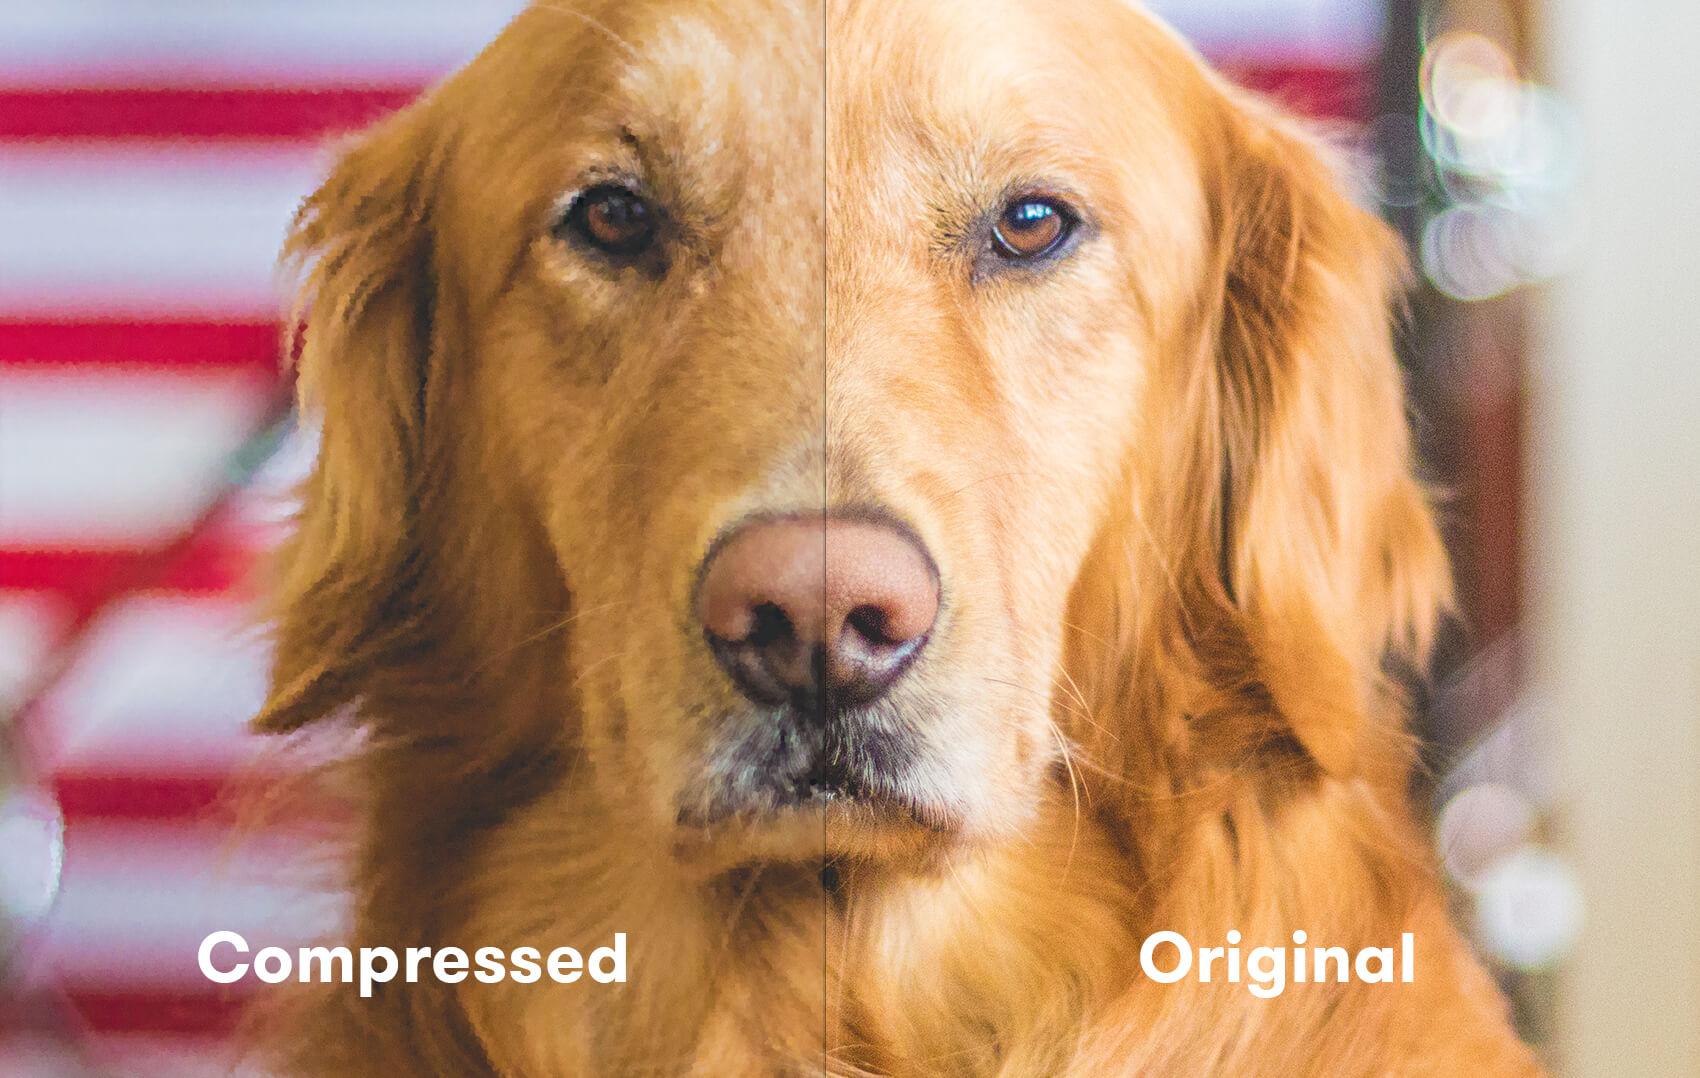
If you compress a JPEG image too much, the loss in quality will become noticeable and you'll start to see blurry or fuzzy bits that show up in an image. These are known as 'compression artifacts'.

You may have noticed this on Facebook when you have a really sharp image and their automatic compression software leaves your image looking a bit fuzzy in certain areas. You'll also notice compression artifacts if you save, edit and re-save a JPEG many times over, as the file is being compressed again and again with each save. That's why it's best to use a lossless format such as PSD or TIF right up until you're ready to save for web.
If you're using a website like TinyJPG, it tends to balance the quality and compression quite well automatically. Some sites will output a range of different image quality results, that way you can choose the one that looks best.
Let's recap
So, there you have it! Four easy steps to optimising your images for the web. If you’ve already forgotten step one, or couldn’t be bothered reading the whole thing, here’s a quick summary!
- Pick a great image to start. Any old image that you stole off google isn’t going to cut it. You can create your own quality images, buy them from stock photo sites, or hunt for unlicensed or CC0 freebies online.
- Re-size your image to fit to space you’re using it in. Large file sizes can affect your page loading times and SEO ranking.
- Make sure you pick the right file type for your purpose to get the best image quality and colours with the smallest file size.
- If you're using a PNG or JPG, you can compress your file to reduce its size for web. For JPEGS, look for a nice balance between compression and quality to avoid artifacts.
Do you have tips or advice on saving images for web? Share them below! If you found this article helpful, don't forget to share it!
Continue Reading


